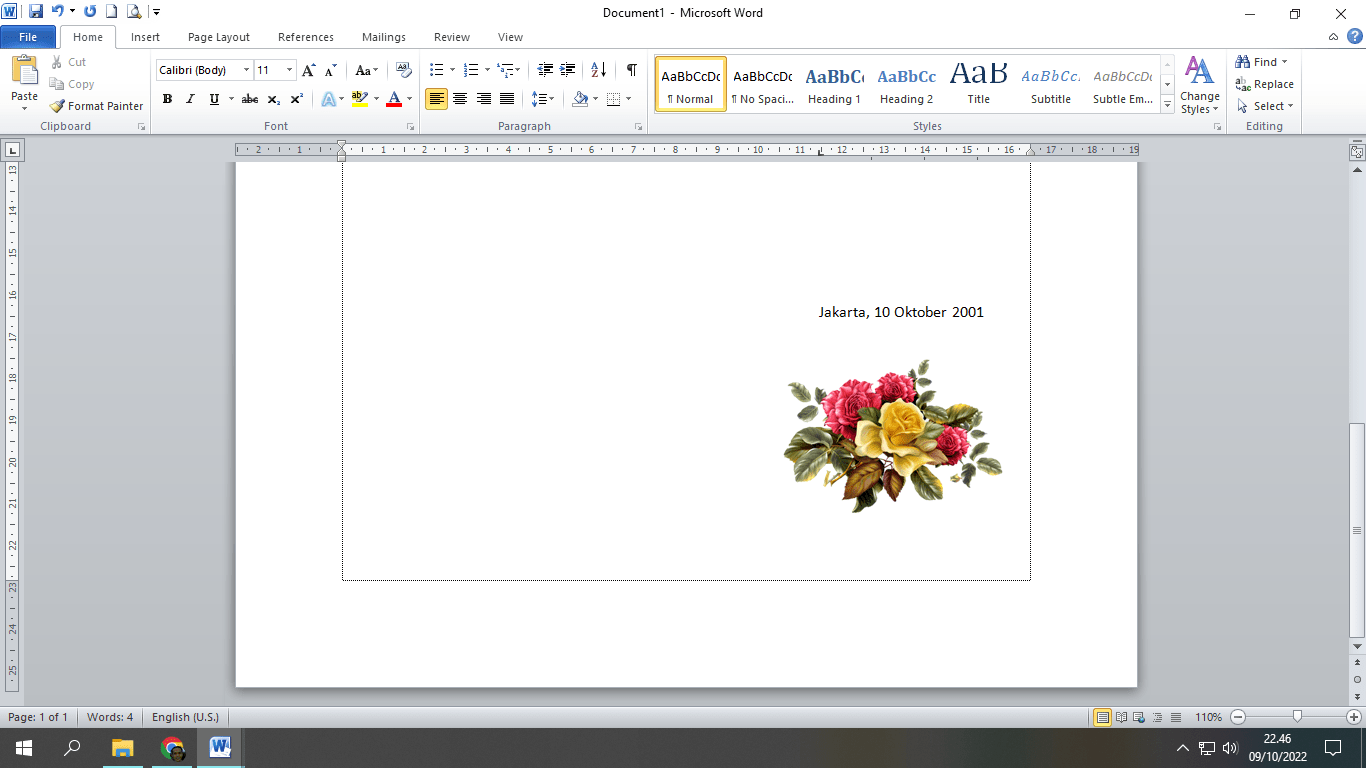
This short guide will show you how to change the size and position of images in Word in a very easy way.
You probably already know How to insert a picture into Word, However, you may have difficulty placing the image as desired if the size and position of the image in Word do not match your needs.
When you add an image to the Word, either through the menu Insert or in a way Copy-Paste, The image will appear in Word at its original size, The image position will be at the position where you placed the cursor.
Example, Your goal in inserting an image is as a logo for your letterhead, then you need to place it in the top left corner, to be precise Header document, with dimensions of approximately 2.5cm x 2.5cm.
By following this short guide, You will be able to change the size and position of the image to the position you want such as on the letterhead or at the bottom of the document.
How to Change Image Size in Word
To change the size of an image in Word, do the following:
- Click on the picture, then point the pointer exactly at one corner of the image so that the pointer changes shape to ↔ (two-way arrow).

- Click and slowly drag the pointer to the top left corner so that the image size changes in Word.

How to Change Image Position in Word
To change the position of an image in Word, do the following:
- Right click on the picture, then clickWrap Text, then selectInFront of TextorBehind Text.
InFront of Text means the image in front of the text, whereas Behind Text means the image is behind the text.

- After changing the position of the image to InFront of Text or Behind Text, The position of the image does not affect the position of the text around it. Thus, You can easily place the image wherever you want by clicking and dragging the image in the desired direction.

Finished, That's how to change the size and position of an image in Word.
Changing the size and position of images in Word needs to be done at times create a letterhead in Word which is equipped with a logo image.
Hope it is useful. FollowChannel Youtube This is to watch other video tutorials


