You can create automatic data backups with Google Drive so you don't have to worry about losing data such as documents, Photo, and others.
Google Drive is a synchronized data storage service developed by Google. Google Drive provides encryption and secure access to your files. Stored files can be scanned and removed proactively in the event of malware, spam, ransomware, or phishing detected.
The following guide will show you how to automatically backup data using the free tool Google Drive.
How to Automatically Backup Data with Google Drive
The way automatic data backup with Google Drive works is by synchronizing the folder you choose on your PC to the Google Drive server (cloud). Google Drive synchronizes every time changes occur in your data folder.
Here are the four steps you need to take to automatically backup data using Google Drive on Windows
List of contents
Steps 1: Install Google Drive for PC
To install Google Drive on your PC is very easy. Download the Google Drive app then run the installer file and follow the instructions that appear on your computer screen.
Steps 2: Sign in to Google Drive
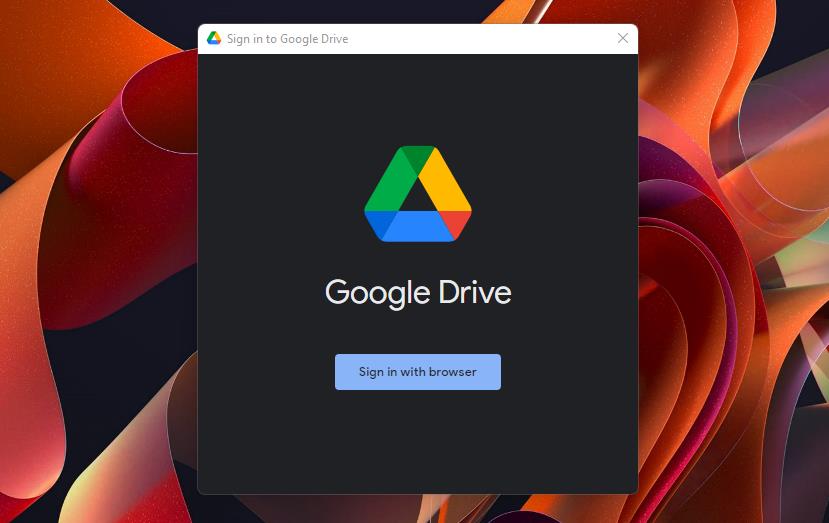
Once you have finished installing, The Google Drive application displays as below. Click the button Sign in with browser, then the application will open the login page to your Google account in Chrome
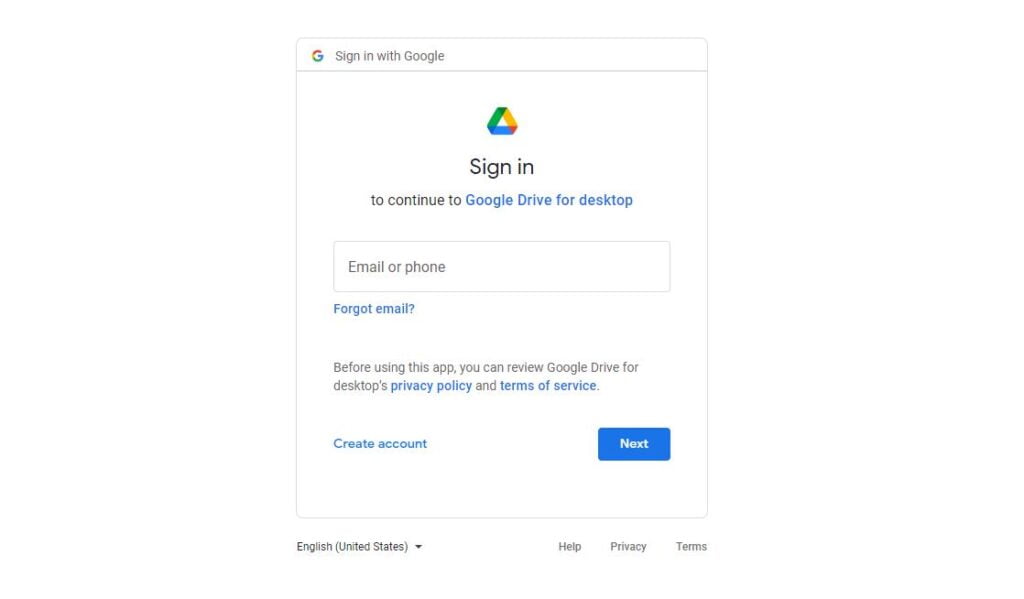
In a Chrome window, log in to your Google account (Gmail). Type the username then click Next To continue then enter your Gmail password.
Tips: If you don't have a Gmail account yet, You can create a new account by clicking Create account
Steps 3: Add Sync Folder
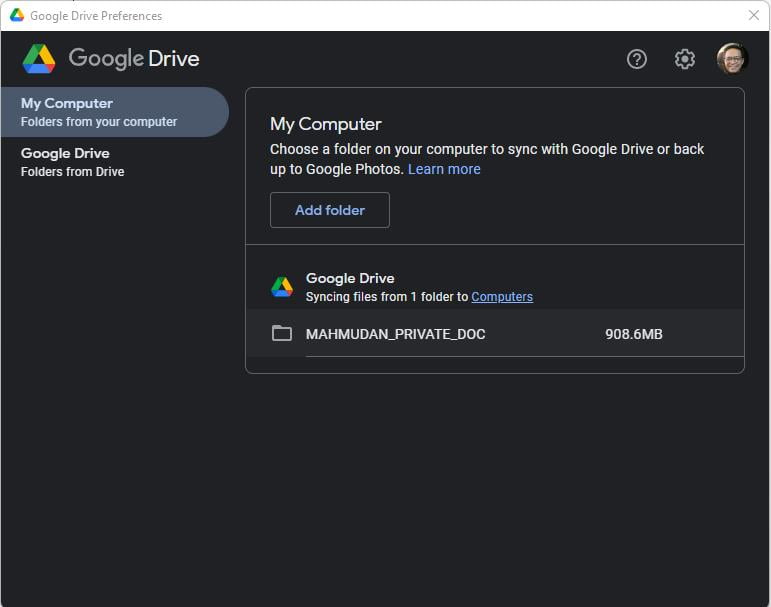
After you have successfully logged in, Google Drive display will be as below. Add data folder (documents, Photo, and others) that you want to sync to Google Drive.
- Click My Computer then click Add Folder
- Select the folders you want to sync
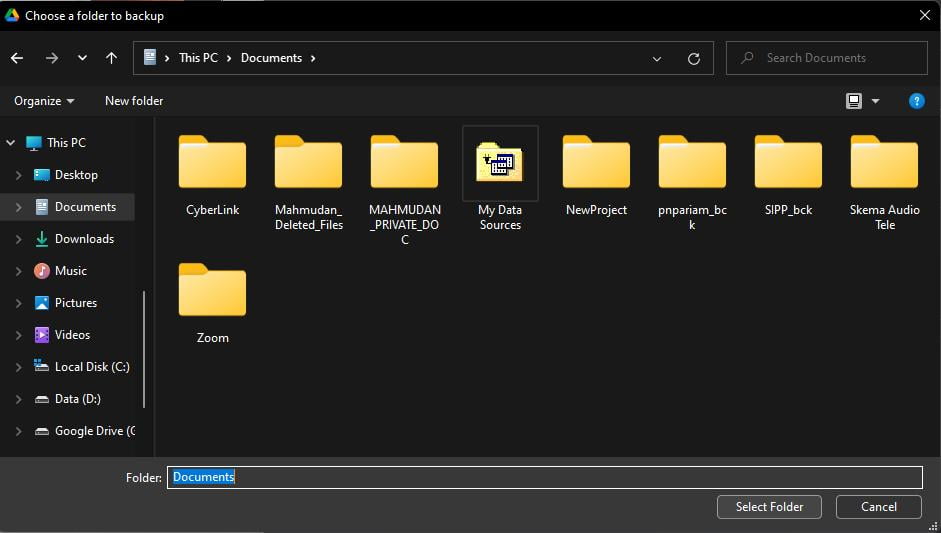
- Once finished selecting the folder, click Done
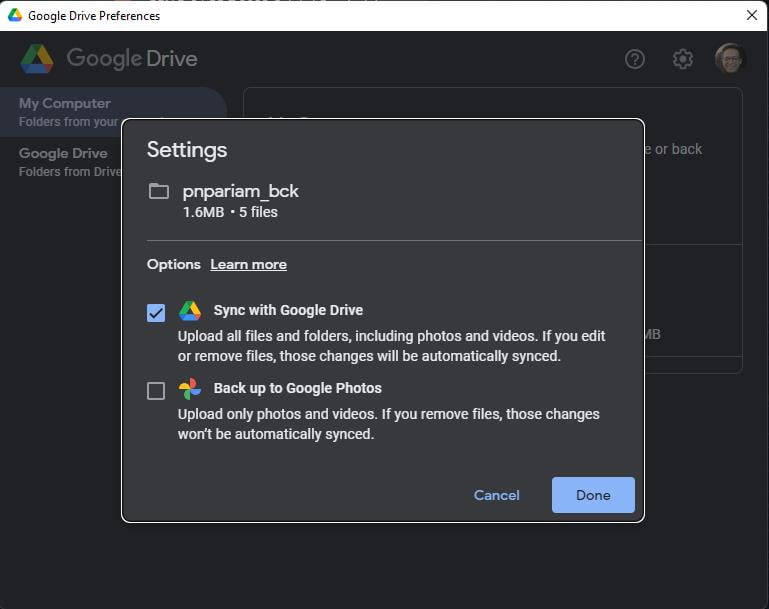
- You can see the folder name you have selected is in the list, then click Save
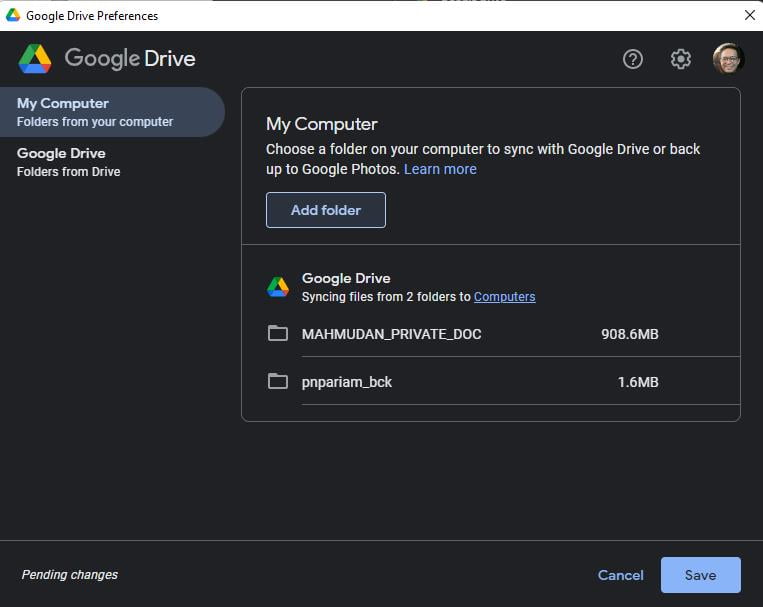
Steps 4: Select Sync Options
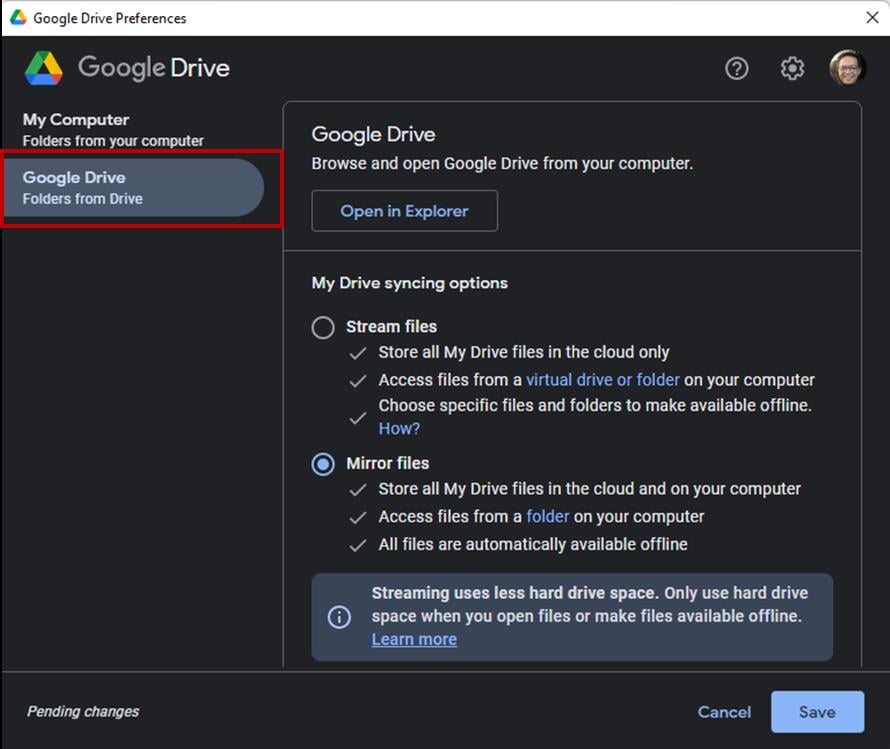
In the Google Drive application there are two synchronous modes, that is Stream files And Mirror files.
Stream files meaning you need to upload all your files to Google servers (cloud) then the application will create a virtual drive on your PC. You must select the provide offline option for the files to be copied to the PC.
Mirror files This means the application will upload files in the folder you choose to the Google server (cloud) automatically.
So you can access your files as usual on your PC, You need to select the sync option Mirror files. Then click section Google Drive, then select Mirror files then click the button Save
Finished
After you follow the steps above, Google Drive will synchronize all files in the folder you have specified.
Google Drive will synchronize every time there are changes to the contents of the folder you select. The slightest changes will be synchronized, well you create a new document, edit documents or delete documents.
You can also restore your deleted files, by opening Google Drive Web then restoring deleted files in the trash.
Creating automatic data backups with Google Driven is one effort maintain the security of Windows computers, because Google's system will scan every file you upload to its server.
Hope it is useful.
steady steady….
Comments are closed.