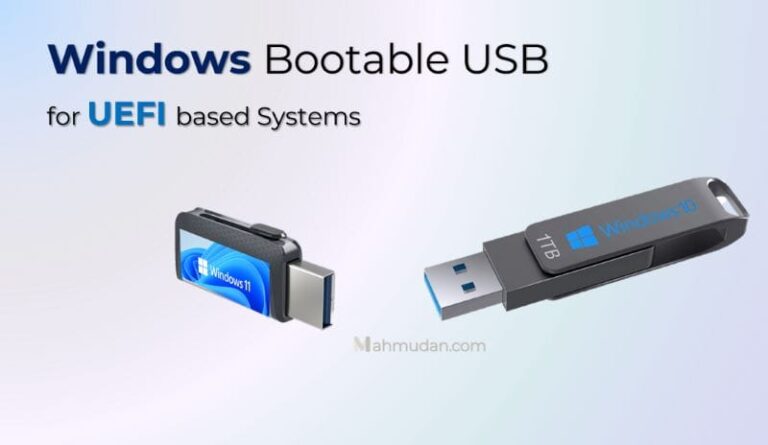
This guide explains how to create a Windows Bootable USB media for UEFI based systems without using an application. You can use this Bootable USB media to install Windows to your PC.
By using Windows Bootable USB media to save the installation files, loading of the operating system becomes faster. The native speed of USB is 480 Mb/s, Meanwhile the fastest transfer speed is DVD only 21 Mb/s. You can also load the operating system on tablets and other devices that support USB but do not support optical media such as ultrabook laptops.
How to create a Windows Bootable USB in this guide is specifically for UEFI based systems, if you are using a BIOS based system, follow how to create Windows Bootable USB media for BIOS based Systems.
List of contents
UEFI at a glance
UEFI is the abbreviation of Unified Extensible Firmware Interface, a type of motherboard firmware used during the startup process to initialize hardware and load the operating system. All data about initialization and activation of the device is stored in the file .efi, which is stored on a special disk partition called the EFI System Partition (ESP). ESP also holds the bootloader responsibility for booting the operating system.
UEFI was created to overcome BIOS limitations and speed up system boot time. UEFI uses the GPT partition scheme and supports much larger drive sizes.
UEFI provides security with the Secure Boot feature, which prevents unauthorized applications from booting. However, Secure Boot prevents dual booting because it treats the other OS as an unauthorized application.
UEFI runs in 32-bit or 64-bit mode, which allows it to provide a graphical user interface.
Preparation
Here are some things needed to create a Windows Bootable USB media:
- A USB storage device that can hold OS installation files.
- Administrator access rights on the system you are using to create the Bootable USB.
- Windows OS installation files.
Steps to create Windows Bootable USB
The following steps will guide you on how to create a Windows Bootable USB for UEFI based systems using Diskpart.
Total Time: 9 minutes
1. Run Diskpart

Insert the USB drive. Open Command Prompt using options Run as Administrator, then run Diskpart by typing: diskpart then ENTER
2. Show Disk List

Display a list of all disks recognized by the system by typing: list disk then ENTER
3. Select Disk

Select your USB drive from the list (in this example Disk 1) by typing: Select Disk 1 then press ENTER
4. Erase Disk Data

Erase all data from the disk by typing: clean then ENTER
Attention: This command will erase all data on your USB drive.
5. Convert disk to GPT

So that it can be used on UEFI-based systems, convert disk to GPT by typing convert gpt then ENTER
6. Create Primary Partition

Create a primary partition by typing create partition primary then ENTER
7. Format FAT32

Format the partition you just created by typing format fs=fat32 quick then ENTER
8. Show Volume List

Display a list of volumes associated with the system by typing list volume. Note the new volume's drive letter. (in this example: Volume 3, drive D:) To update the bootcode in step number 10.
9. Exit DiskPart

Exit DiskPart by typing exit then ENTER.
10. Update Bootcode

Use BootSect to update the bootcode on a GPT partition by typing bootsect /nt60 D: then ENTER
11. Copy Installation Files
Copy the entire contents of the installation media to the USB drive.
Notes: The FAT32 file system only allows file sizes up to 4 GB. If the installation image includes the install.wim bigger than this, attempting to copy it to a USB drive will result in an error. To solve it, You can divide the USB Drive into several partitions or share files install.wim into several files.
Look this Microsoft Learn article for steps in sharing files, as well as other options.
At this point the steps to create a Windows Bootable USB have been completed.
Conclusion
You can create two types of USB Bootable Disk, for UEFI based systems and BIOS based systems. Generally UEFI based systems still include the option to boot legacy BIOS.
After you copy all the OS installation files into the USB Drive, You are ready to use it as Windows installation media. By using this Windows Bootable USB to install the operating system, You can install more quickly. Set Boot your PC to USB drive to start the installation.
Hope it is useful.
Reference: phonixnap.com

