This article will show you how to install CentOS 7 with the simplest options to choose from so it is easy to put into practice.
Practice installing CentOS 7 in this guide uses a virtual machine device created using VirtualBox. Learn how to create a CentOS-7 virtual machine using VirtualBox on Windows, or how to create a CentOS-7 virtual machine with Hyper-V.
Basically, You can also practice the steps to install CentOS 7 following on your physical computer.
List of contents
What is CentOS Linux?
CentOS Linux is a source-based, community-supported distribution provided for free to the public atCentOS git for Red Hat Enterprise Linux (RHEL). Therefore, CentOS Linux aims to be functionally compatible with RHEL. The CentOS project primarily changes packages to remove upstream vendor branding and artwork. CentOS Linux is free and free to redistribute.
CentOS 7 is the major version of Centos Linux and is supported until May 2027. By installing CentOS 7, You can install and run Apache web server with it. CentOS 7 often used in servers and hosting, this is because CentOS 7 safer and more stable.
Steps to install CentOS 7
Practice installing CentOS 7 in this guide takes the simplest options that you can apply on both physical computers and virtual machines.
This guide does not discuss how to create a USB or disk installer or how to boot from a CD/DVD or USB Installer. Learn how boot the computer from CD/DVD or USB Installer.
Follow the steps to install CentoS-7 with this simplest option. The steps start after the computer is turned on and boots from the CD/DVD or USB installer.
Total Time: 1 hour and 30 minutes
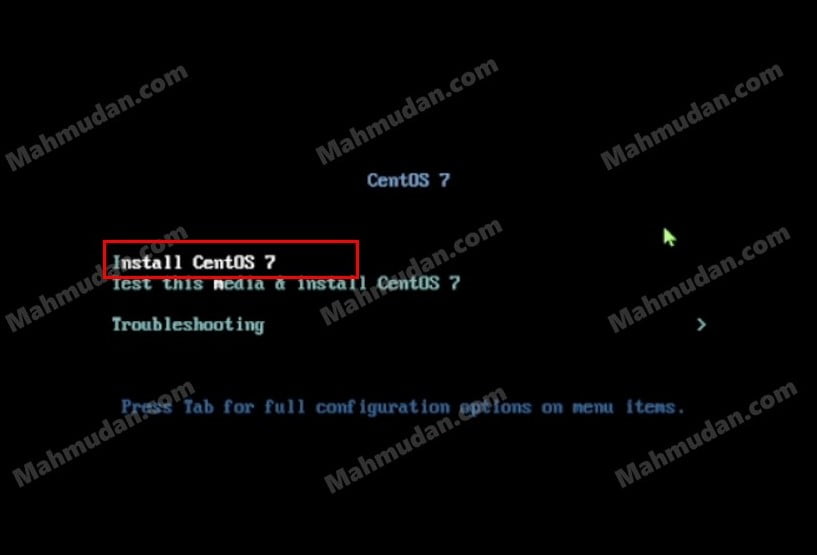
Step 1: Select Install CentOS 7

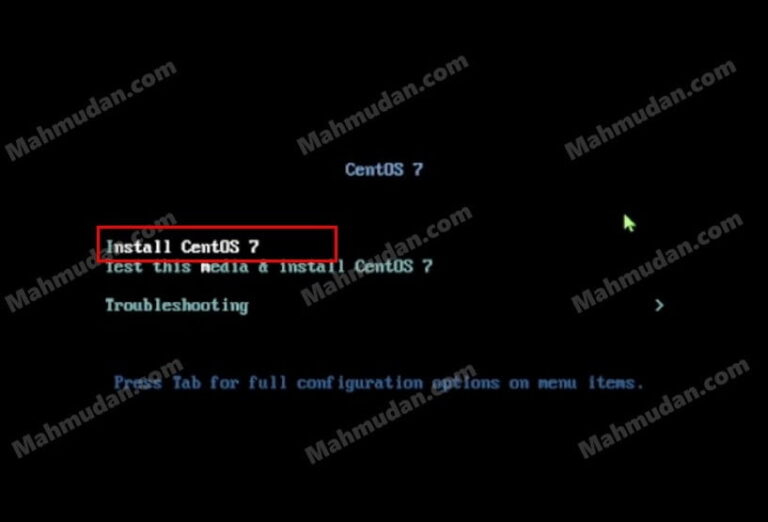
After the computer is booted from the CD/DVD or USB installer of CentOS7, You will see a display like the image above, there is 3 choice, then select Install CentOS 7. After that, The computer will do the checking, wait until the next process
Step 2: Select the appropriate Language

In this section you can choose the installation language that suits your needs, here I choose English with keyboards English (United State), then click Continue to continue
Step 3: Select Date and Time

In the Installation Summary view, You can see several setting options. So that the installation process can be done easily, I only selected a few settings that needed to be changed, the first is DATE & TIME
Step 4: Select Region and City

In the Date section & Time, You can choose the time according to your region and city by clicking the location on the map. Here I choose Region Asia and City Jakarta. Click Done to return to other settings.
Step 5: Select Installation Destination

If you want to specify a specific partition for installation purposes, You can set it here. I chose to let the system take care of it, even me does not select Disks at all.
Step 6: Select Network Connection

In this section you need to turn on the network connection so that the machine can connect to the network, then click Network & Host Name
Step 7: Enable Network Connection

In this section, You can see the available network devices on your machine. Select the device then click the switch button so the button changes to ON to enable network connection, then click Done to return
Step 8: Start Installation

After selecting several settings above, You can start the installation process by clicking the button Begin Installation
Step 9: Create a Root Password

During the installation process, You can create a password for the Root user and or add a new user. What you need to do now is create a root password
Step 10: Enter Password

Enter a new password for the two fields above. Notes: You must remember this password. Click Done to continue
Step 11: Reboot

The installation process has been completed. You can restart your machine now. Before doing that, Remember that you must set the system boot order so that the computer does not repeat booting from the CD/DVD or USB Installer. If you are using virtual machines on Hyper-V, there is no need to change anything, but if using Virtual-Box, You must shut down the virtual machine to be able to change the system boot order.
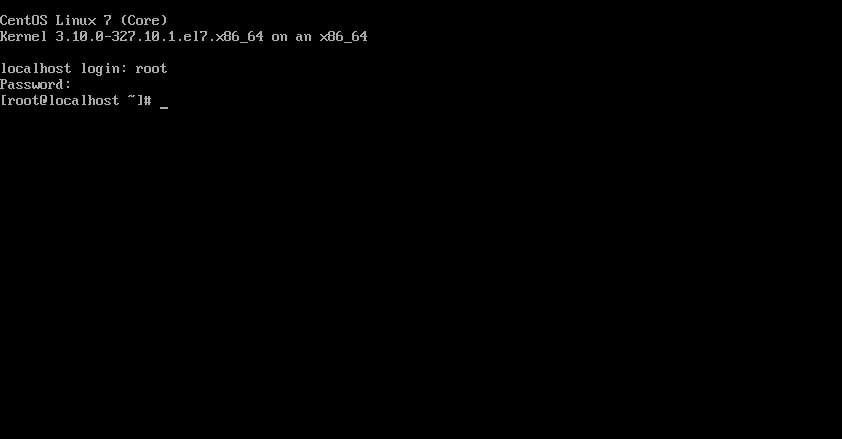
Steps to install CentOS 7 with the simplest option done. After restarting the computer, CentOS 7 will start doing some checks on the hardware, and this is what the CentOS-7 interface looks like without GUI.

Conclusion
Installing CentOS 7 It's pretty easy as is installing Windows 7, because it has a simple and easy to use interface. CentOS 7 Can be used as a virtual web server by installing the Apache web server. CentOS 7 often used in servers and hosting, this is because CentOS 7 safer and more stable.
Hope it is useful, look forward to the next tutorial. Hopefully the process of installing CentoS 7 what you do is successful without any problems.
Also see the following video on how to install CentOS7.
Hope it is useful.

