Study with Mahmudan. Tutorial, Easy Windows and Office computer tips and tricks as well as free file downloads for all.
Popular Windows Tutorials
Posted inWindows
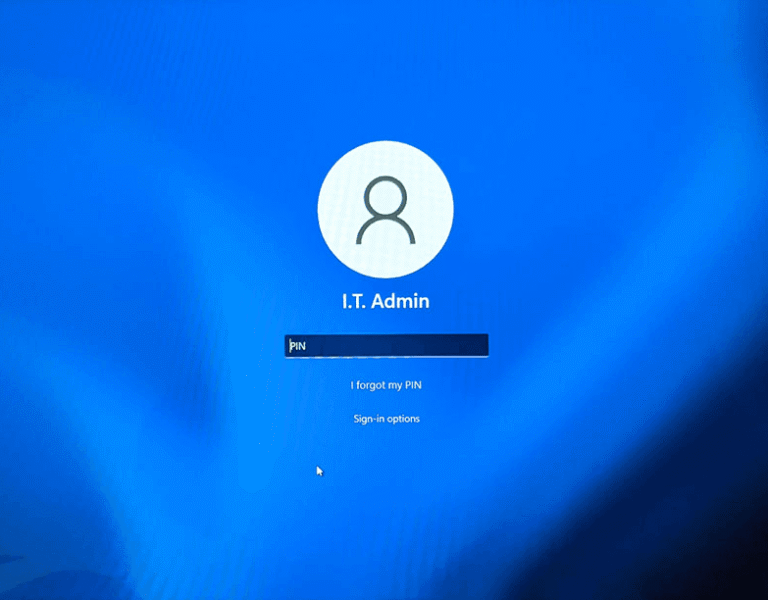
How to Create a New User in Windows 11 without Email
This article explains how to create a new User or new local user account…
Posted inWindows
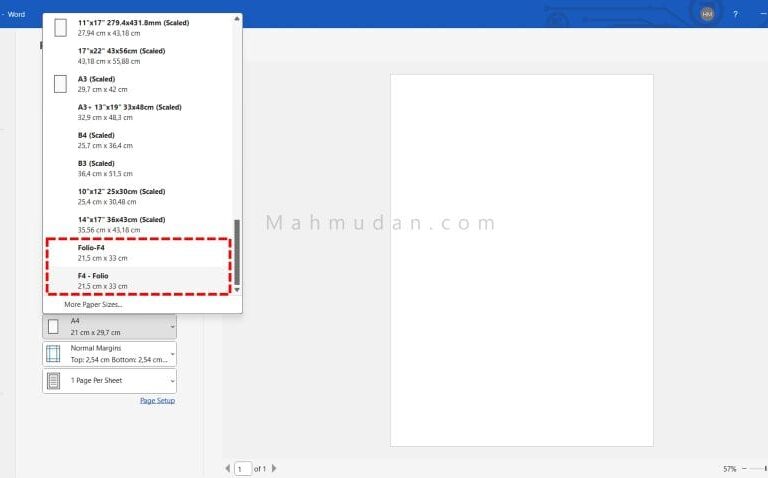
How to Add F4-Folio Paper Size (Word/Excel) – Various Printers
This comprehensive guide explains how to add F4/Foli paper sizes…
Posted inWindows
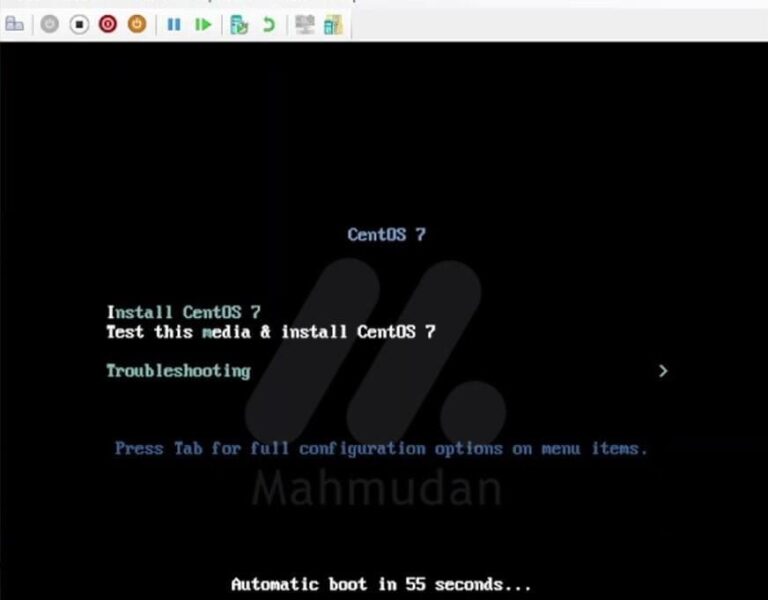
How to Create a CentOS-7 Virtual Machine with Hyper-V
For those of you who have a computer with the Windows-10 or Wind operating system…
Posted inWindows
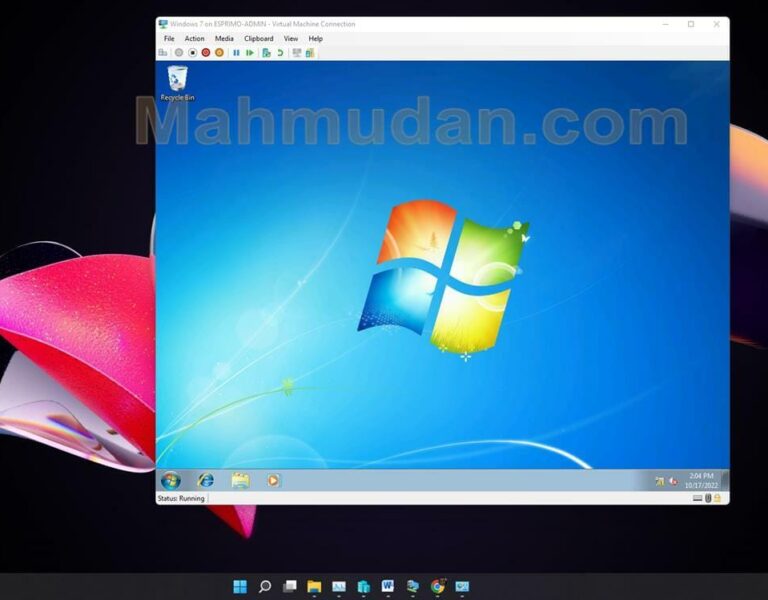
How to Create a Windows-7 Virtual Machine with Hyper-V
For Windows-10 or Windows-11 users, It is possible for you to create m…
If you don't want to endure the pain of Studying, then you will bear the pain of stupidity
Popular Office Applications Guide
Posted inExcel
41 Important Excel Formulas in Work
By dominating 41 this important Excel formula, you will get boosts…
Posted inWord
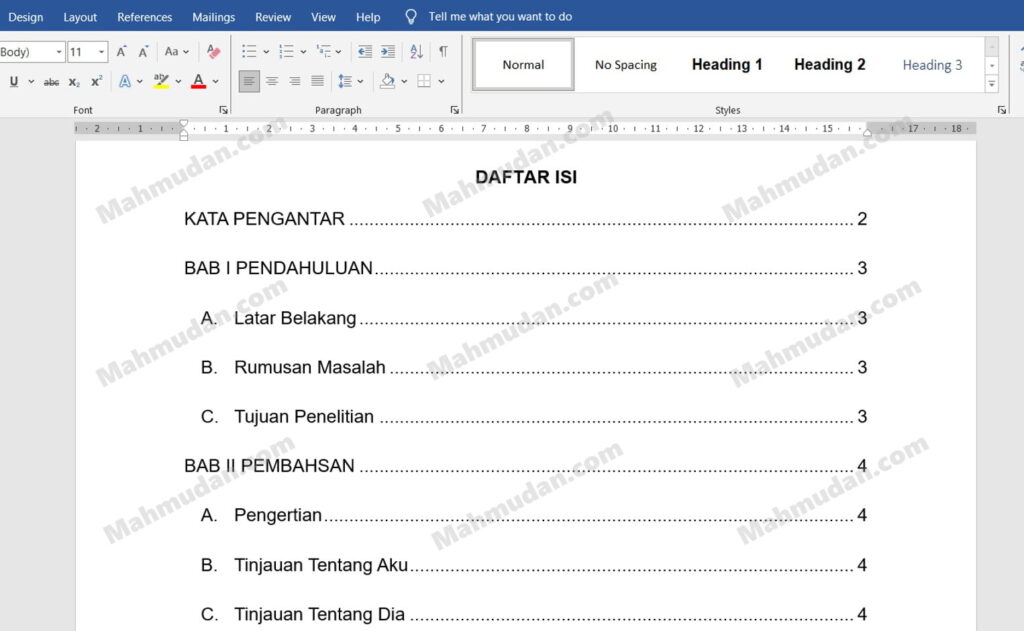
How to Create an Automatic Table of Contents in Word – 4 Important Points
This document explains how to create an automatic table of contents in Microsoft Word…
Posted inWord
How to Create a Mail Merge Word with Excel Data + Special Tricks
This article will show you in full how to create a Mail Merge Word file…
Posted inWord
How to Make a Letterhead in Word only Pages 1 (5 Steps)
This article contains a guide to creating a letterhead in Word only on the first page…


