You are confused about how to change your username in Windows-11? This quick guide will show you how to quickly and easily change your local username on Windows-11 only with 3 easy steps.
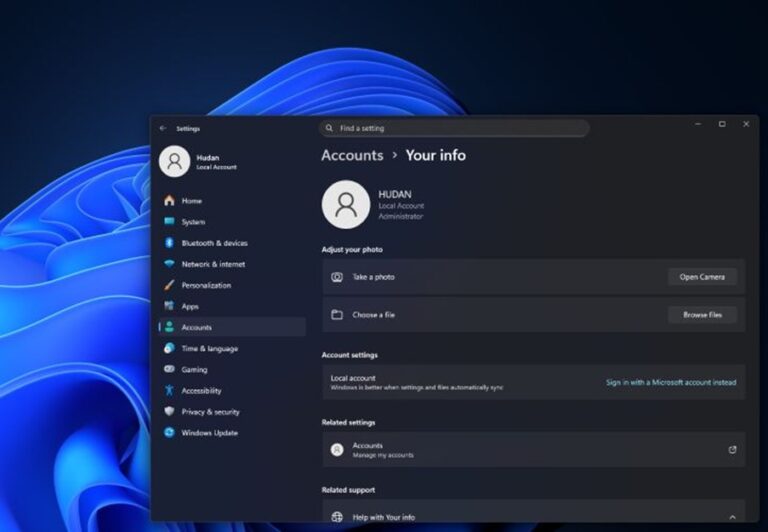
If you follow the method provided in the menu Settings, You will be confused because you don't find the option to change the username or account you use to log in to Windows-11.
On the menuSettings, You only find a menu link to the login web page Microsoft account to manage your account. Why do you have to log in just to change the local username?
Of course there are other ways to change username in Windows-11, but this guide will only show you the quickest and easiest way. By following this method, You can even differentiate between the name that appears on the screen and the name used to log in.
3 Steps to Change Local User Name in Windows 11
List of contents
To change local username in Windows-11, do the following steps:
Total Time: 3 minutes
Step 1: Open Control Panel

Click the search box then type “netplwiz” then click netplwiz. Netplwiz.exe is an advanced user account control panel.
Step 2: Select User

On User Accounts Control Panel, Select the user you want to change the name then click Properties.
Step 3: Input New Name

In user properties, there are three fields you can fill out:
a. Field User name is the name used in Windows Credential. (required)
This is used to log in to your computer, either directly or remote from another computer.
b. Field Full name is the name that appears on the PC login screen (optional).
c. Field Description is additional information (optional).
After entering a new name, don't forget to click Apply And OK to implement changes.
Finished, please Sign out to see the changes. Quick and easy isn't it?
If you're still confused, take a look video how to change username / local account in Windows 11
Apart from changing the username in Windows-11, you might want to too rename PC Windows-11.
Hope it is useful.


